 |
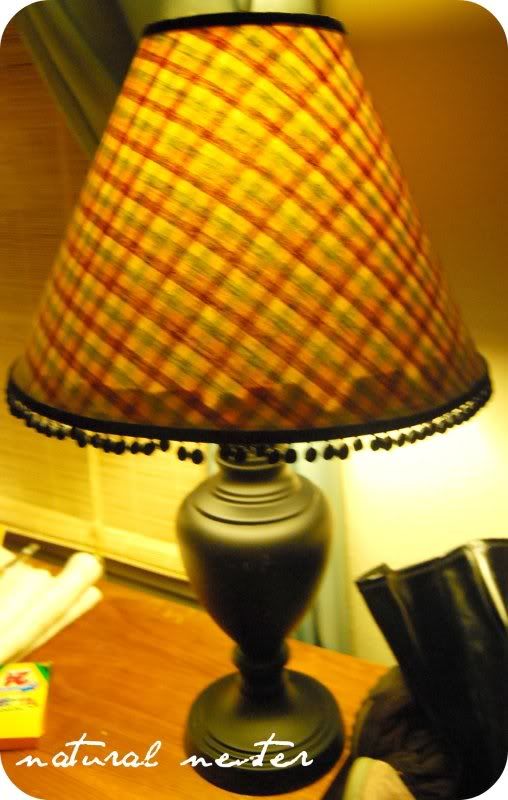
| BEFORE |
I mentioned a few posts back that I need some new lampshades. I shopped around and they can get a little pricey when you need several ($15-20 each!) I'm too thrifty for that (maybe my blog should have been titled Thrifty Natural Nester?) Anyway, I decided rather than drop that money for new drum shades (my preference), I'd just recover the existing shades on my living room lamps.
Off to Hobby Lobby...I came home with 2 yards of some cute floral fabric to use (only used 1-1/4 yards.) It has all the colors I love and have been using in my living room: turquoise, pink, red, orange, green and yellow. I'm not going to write up a tutorial for you to follow because I think Janell does a fantastic job of it. But here's what I did, in a nutshell. (Sorry for the terrible before pics...I took them last night.)
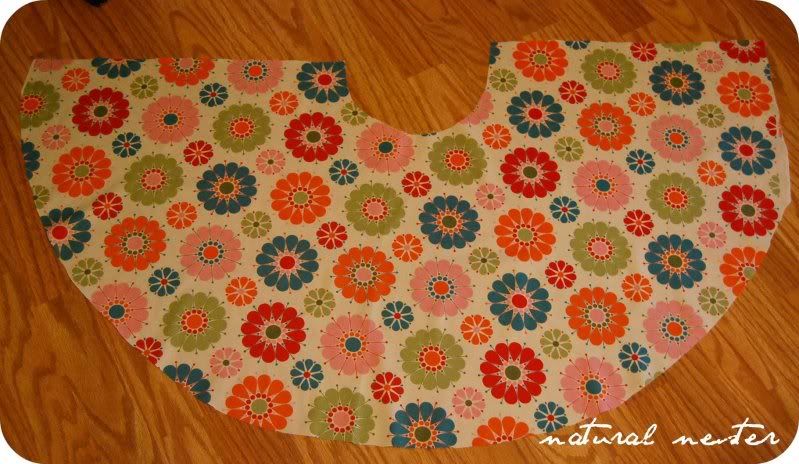
 If you want to cover your own tapered shade (shaped like mine...smaller top than bottom) you'll need to cut your fabric into a shape like this. This ensures the fabric will go on relatively smoothly. Based on my first experience covering shades, I would NOT wrap the fabric under and glue to the inside...the double layer shows through when the lamp is on. Just go to Janell's tutorial and follow her step-by-step instructions.
There definitely was some grumbling when I burned my finger with the hot glue (while attaching the ruffles), but other than that it went pretty smoothly. And as a bonus, I have enough fabric leftover to make a throw pillow or two! The shades turned out great and I LOVE how cute they are! They add a sweet little pop of color and pattern to my pretty plain-Jane living room.
By the way, I'm trying to decide if I'm going to paint the bases...I think I need to. They seem a little heavy now in black. Any suggestions? Everything else in my home is pretty light and bright...there isn't much black anymore, so maybe they're ready for an update.


No comments:
Post a Comment